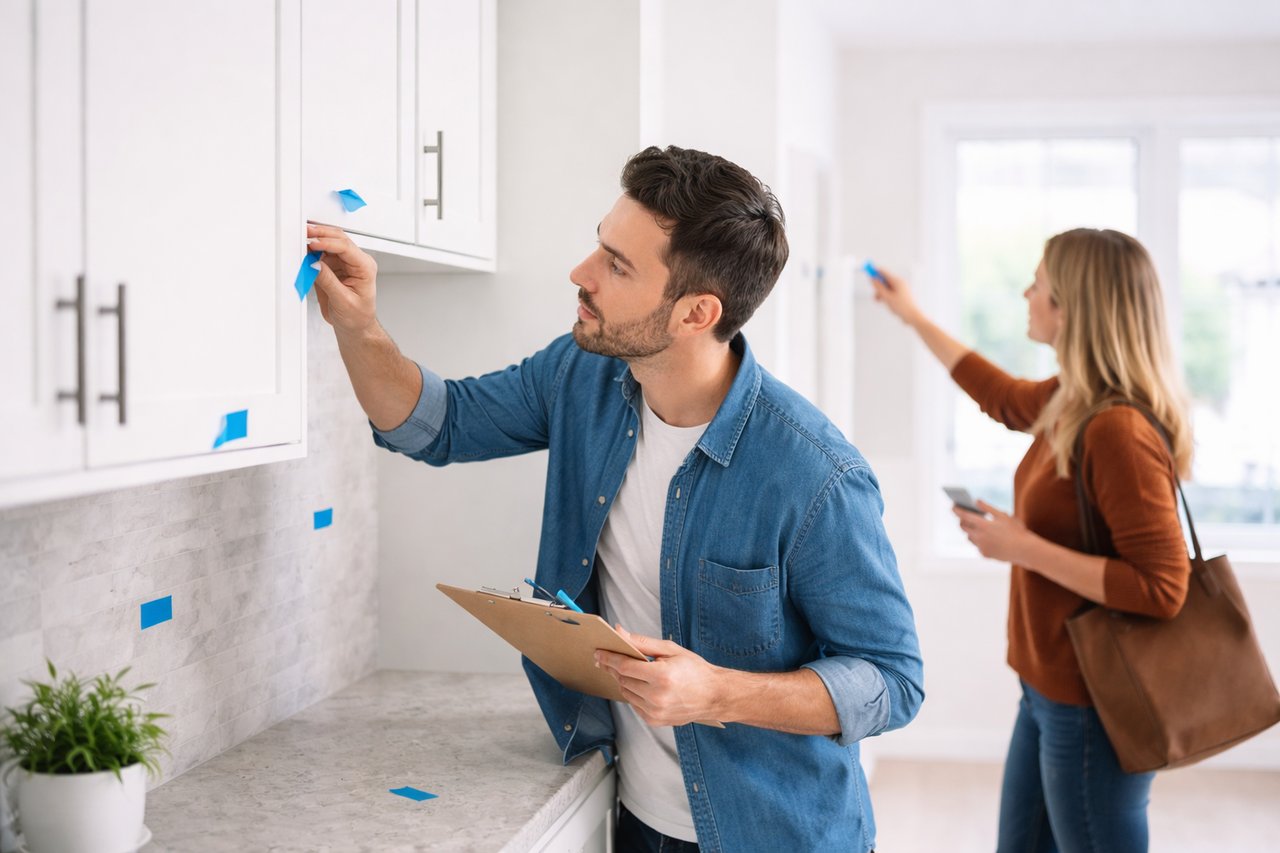
If you’re buying new construction, one of the smartest things you can do is blue taping—walking the home before closing with a roll of blue painter’s tape and marking anything that needs attention. It’s simple, visual, and it helps you and the builder stay aligned on what should be corrected before you get the keys.
Here’s a practical guide to blue taping like a pro.
What “Blue Taping” Actually Is (and why it matters)
Blue taping is a walkthrough where you:
-
Inspect visible finishes and function
-
Mark issues with blue painter’s tape
-
Create a punch list the builder can address
It matters because the final days are busy, emotions run high, and small defects are easy to miss—until you live there.
When to Blue Tape (timing that works)
There are usually three key walkthrough moments:
-
Pre-drywall walkthrough (optional but valuable)
You’re checking framing, plumbing/electrical rough-ins, HVAC runs—big-picture stuff. -
Final walkthrough (most common “blue tape” stage)
This is typically a few days before closing, when finishes are in and the home is cleaned. -
11-month warranty walkthrough (don’t skip this)
Many builder warranties cover workmanship for one year—this is your chance to catch settling cracks, door adjustments, nail pops, etc.
What to Bring (simple kit)
-
Blue painter’s tape (1–2 rolls)
-
Phone flashlight
-
Phone charger
-
Small outlet tester (cheap, extremely useful)
-
Marble or golf ball (for checking floor slope)
-
Notepad (or use your phone notes)
-
A printed copy of builder options/selections (so you verify what you paid for)
How to Mark Issues the Right Way
Use tape that’s helpful—not annoying.
Do this:
-
Place tape right next to the issue (not on top of it)
-
Write a short note on the tape: “chip,” “scratch,” “paint drip,” “door rubs,” “no hot water left sink”
-
Take a photo of each item (wide shot + close-up)
Don’t do this:
-
Tape every microscopic imperfection like it’s a museum piece
-
Mark things that are normal/expected (more on that below)
The goal is clarity and cooperation—not conflict.
The Practical Blue Tape Checklist
1) Walls, Trim, Paint (most common fixes)
Look for:
-
Paint drips, thin coverage, roller marks
-
Overspray on trim
-
Dents/dings in drywall
-
Uneven texture patches
-
Caulk gaps at trim/crown/baseboards
-
Stair trim and handrail scuffs
Pro tip: Stand at an angle with your flashlight across the wall—imperfections show up fast.
2) Floors (your eyes will adjust later—inspect now)
Check:
-
Scratches, chips, gaps between boards
-
Hollow spots (tap lightly on LVP/laminate areas)
-
Tile lippage (edges higher than adjacent tile)
-
Cracked grout, uneven grout lines
-
Carpet seams, loose transitions
Quick test: Roll a marble/golf ball in a few rooms. Minor movement can be normal, but dramatic rolling may indicate uneven subfloor.
3) Doors & Windows (function > looks)
Open and close everything:
-
Doors should latch easily and not rub
-
Handles should be tight
-
Locks should work smoothly
-
Windows should open, lock, and stay up
-
Screens should be intact
Look for:
-
Broken seals (fogging between panes)
-
Gaps in weather stripping
-
Scratches on glass
4) Cabinets, Counters, and Hardware
-
Open every cabinet and drawer
-
Check alignment, soft-close function
-
Look for chips inside cabinet boxes
-
Verify countertop seams are clean and smooth
-
Check caulk line at backsplash
-
Confirm sink is centered and secured
5) Plumbing (don’t trust “it’s new”)
Run water for a minute at each fixture:
-
Hot water delivery time (note very slow runs)
-
Leaks under sinks
-
Toilet fill/flush consistency
-
Tub/shower caulk lines (no gaps)
-
Shower head and handle tightness
Tip: Put a dry paper towel under the sink connections—leaks show instantly.
6) Electrical + Lights + Fans (every switch, every outlet)
-
Test outlets with an outlet tester
-
Flip every switch
-
Confirm fixtures work and are not flickering
-
Check GFCIs in kitchen/baths/garage/outside
-
Ensure smoke/CO alarms are installed (where required)
7) HVAC (comfort issues show up later—check now)
-
Turn system on (heat/cool depending on season and builder rules)
-
Check airflow in each room
-
Confirm thermostats function
-
Look for missing/dirty filters
-
Make sure supply vents are installed and straight
8) Exterior: the “water and drainage” walk
Walk the perimeter:
-
Downspouts should discharge away from foundation
-
Soil should slope away from the house
-
No gaps around penetrations (hose bibs, vents)
-
Siding straight, no cracks/warps
-
Brick mortar touch-ups
-
Porch rails secure, steps solid
Check driveway/garage:
-
Cracks (some hairline can be normal; note wider ones)
-
Garage door opens/closes smoothly
-
Weather seal at bottom intact
What NOT to Blue Tape (so you stay credible)
Some things are considered normal in new construction:
-
Very small cosmetic variations in texture/paint
-
Minor grout color variation
-
Tiny settling-related imperfections (depending on timing)
Your builder may use a workmanship standard (often based on distance/lighting). That’s why it helps to focus on clear defects:
-
chips, scratches, gaps, leaks, misalignment, non-working items.
How to Turn Blue Tape Into a Punch List That Gets Done
-
Take photos of every taped item
-
Create a numbered list that matches photos
-
Email/submit it through the builder’s system ASAP
-
At the re-walk, verify each fix (don’t assume)
And if you have a Realtor (like me) with you, we help you keep it organized and make sure you don’t miss big categories.
Final Advice From Me to You
Blue taping isn’t about being picky. It’s about making sure you’re getting what you paid for—and walking into your new home with confidence.
If you’re buying new construction in Upstate South Carolina, I’ll bring the checklist, keep the process smooth with the builder, and help you sort what’s truly important versus what’s normal.
#BlueTaping #NewConstructionHome #FinalWalkthrough #PunchList #HomeInspection #BuilderWarranty #HomeBuyingTips #FirstTimeHomeBuyer #NewBuild #MoveInReady #HomeWalkthrough #ConstructionChecklist #RealEstateTips #HomeClosing #QualityControl #HomeBuyersGuide #RealtorAdvice #LockeAndKeyAssociates #UpstateSCRealEstate #AndersonSCRealtor